
Have recently found yourself wondering how to set the time and date on a Seiko automatic watch? Well then, you’ve come to just the right place. We’ll take you through how to do just that in a few easy steps. Feel free to watch the video below or read on to follow or step-by-step guide with visuals.
How to Set The Time And Date On A Seiko Automatic Watch
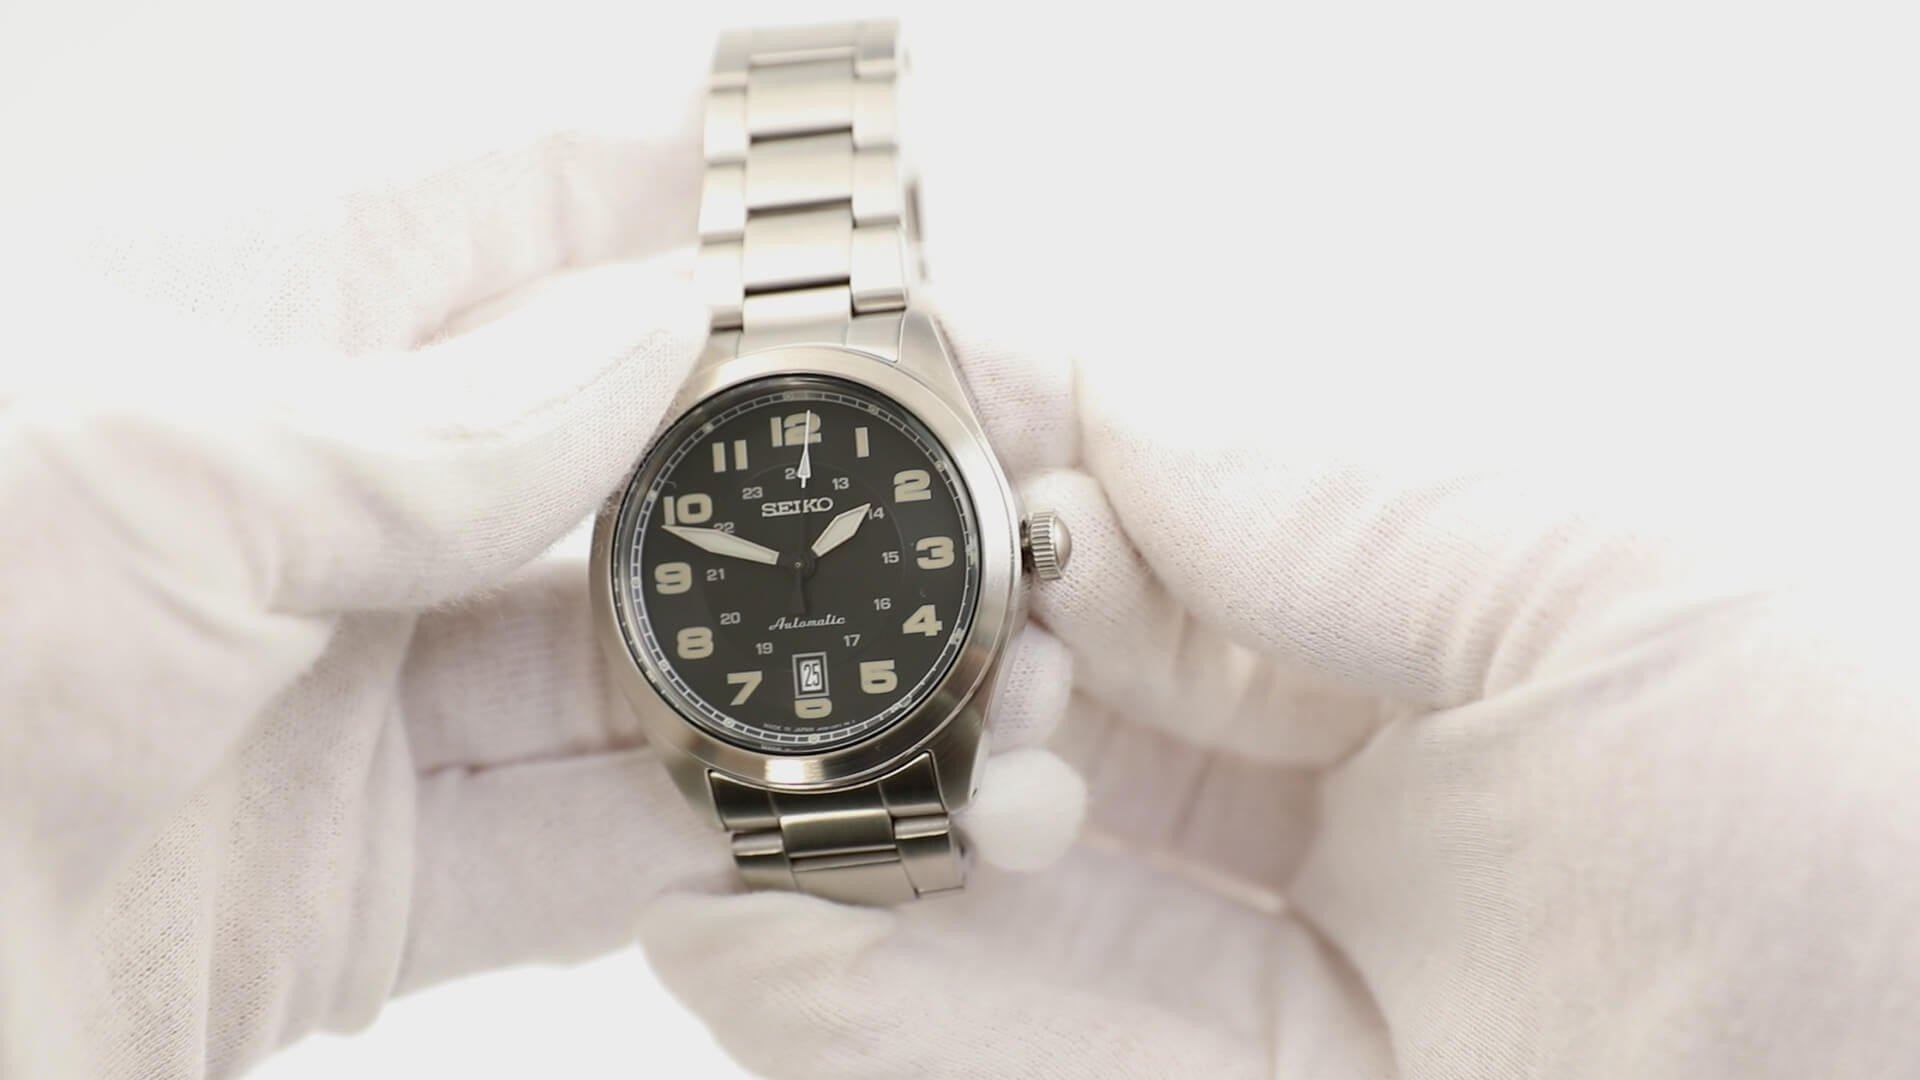
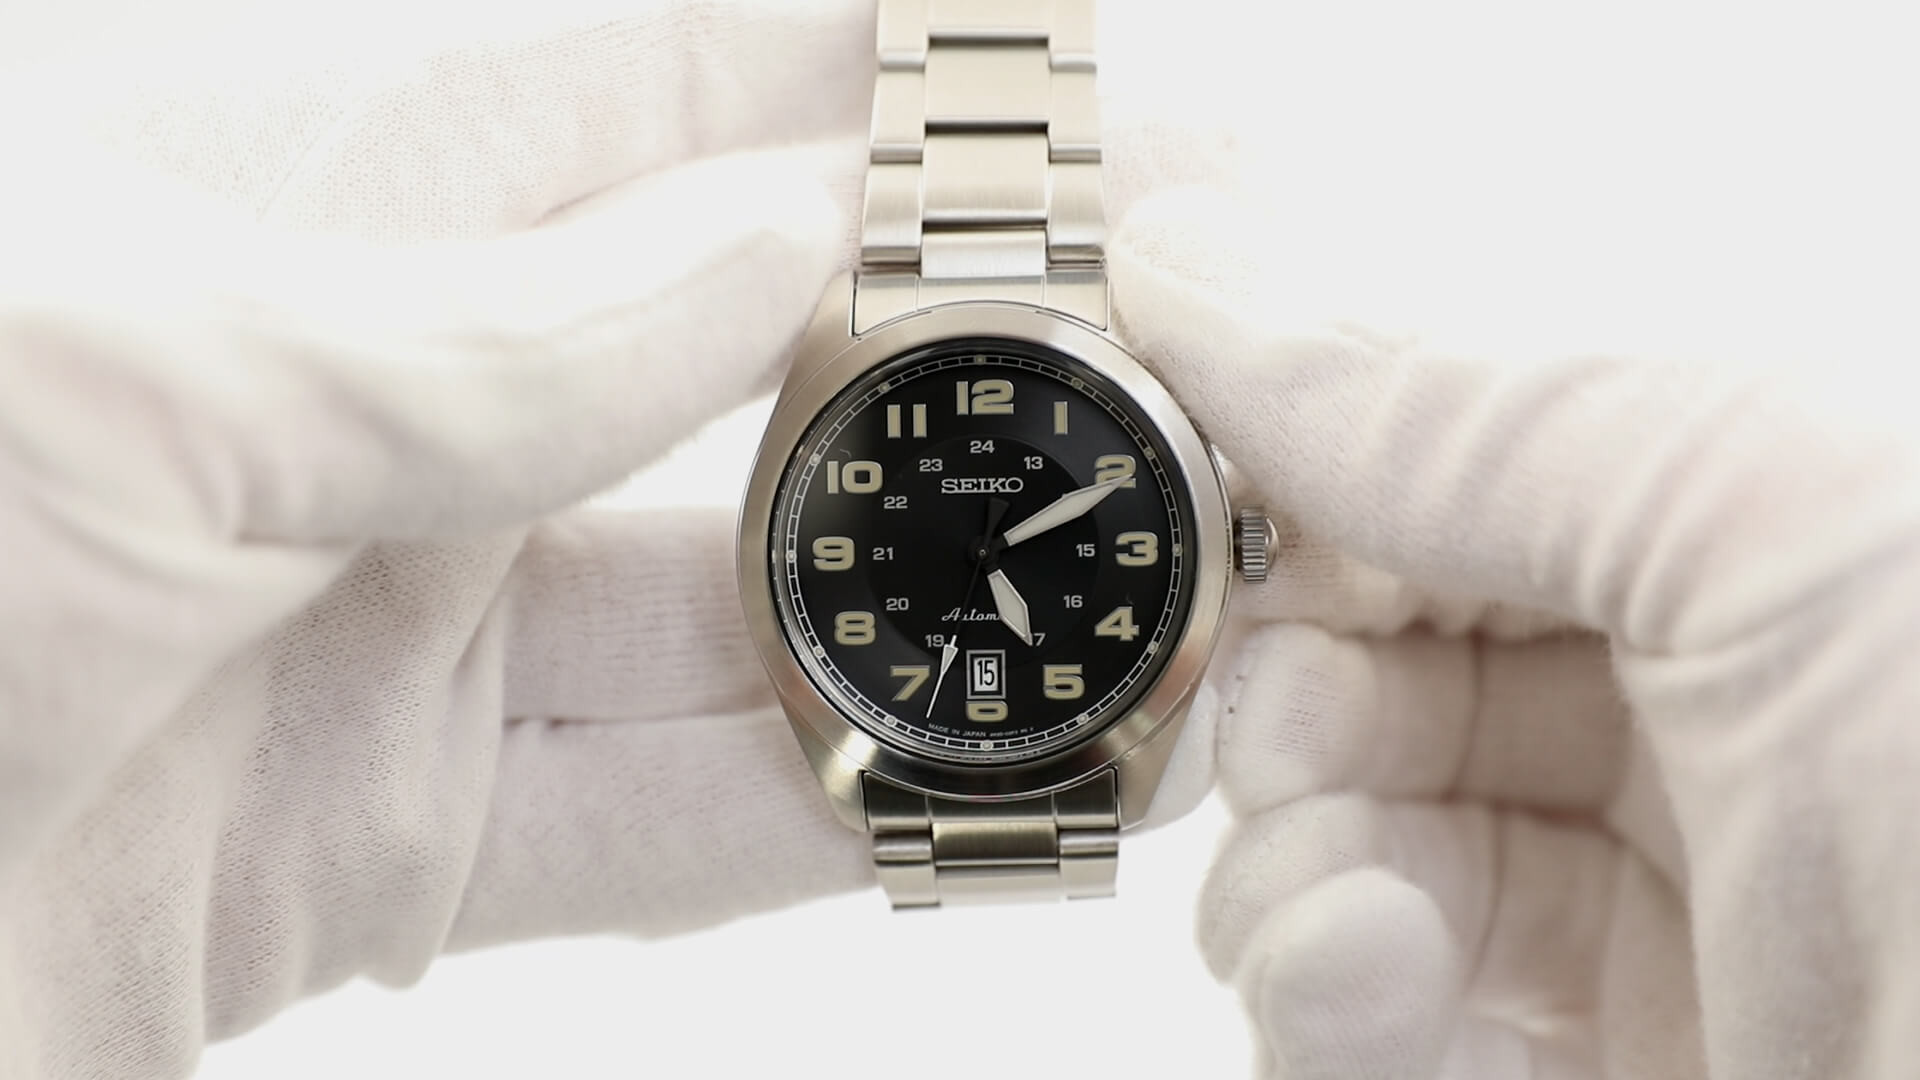
It is actually quite simple to set an automatic Seiko watch. The first thing you’re going to want to do is, set the time on your watch to any time between 4 o’clock and 9 o’clock. Seiko recommends doing this to protect the longevity of the date wheel. To do that, pull out the crown to the second position and rotate the crown clockwise.
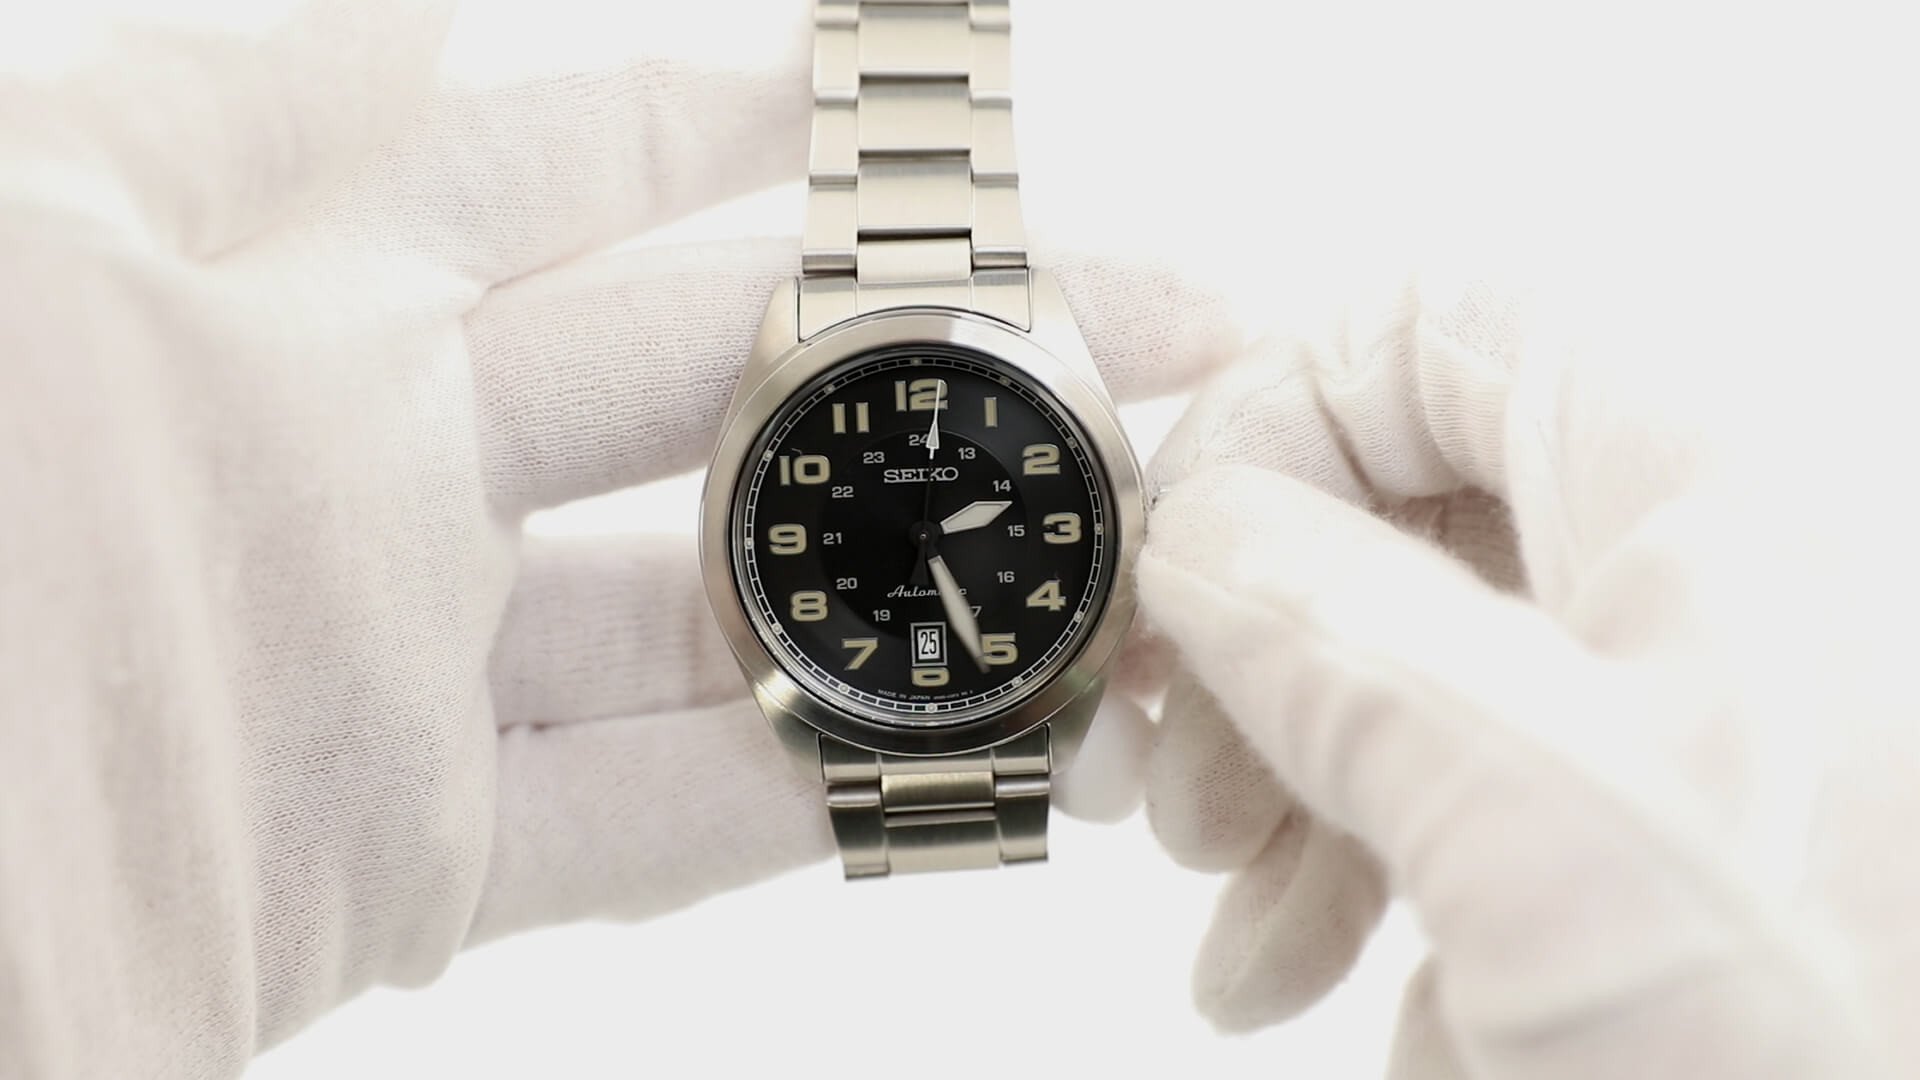
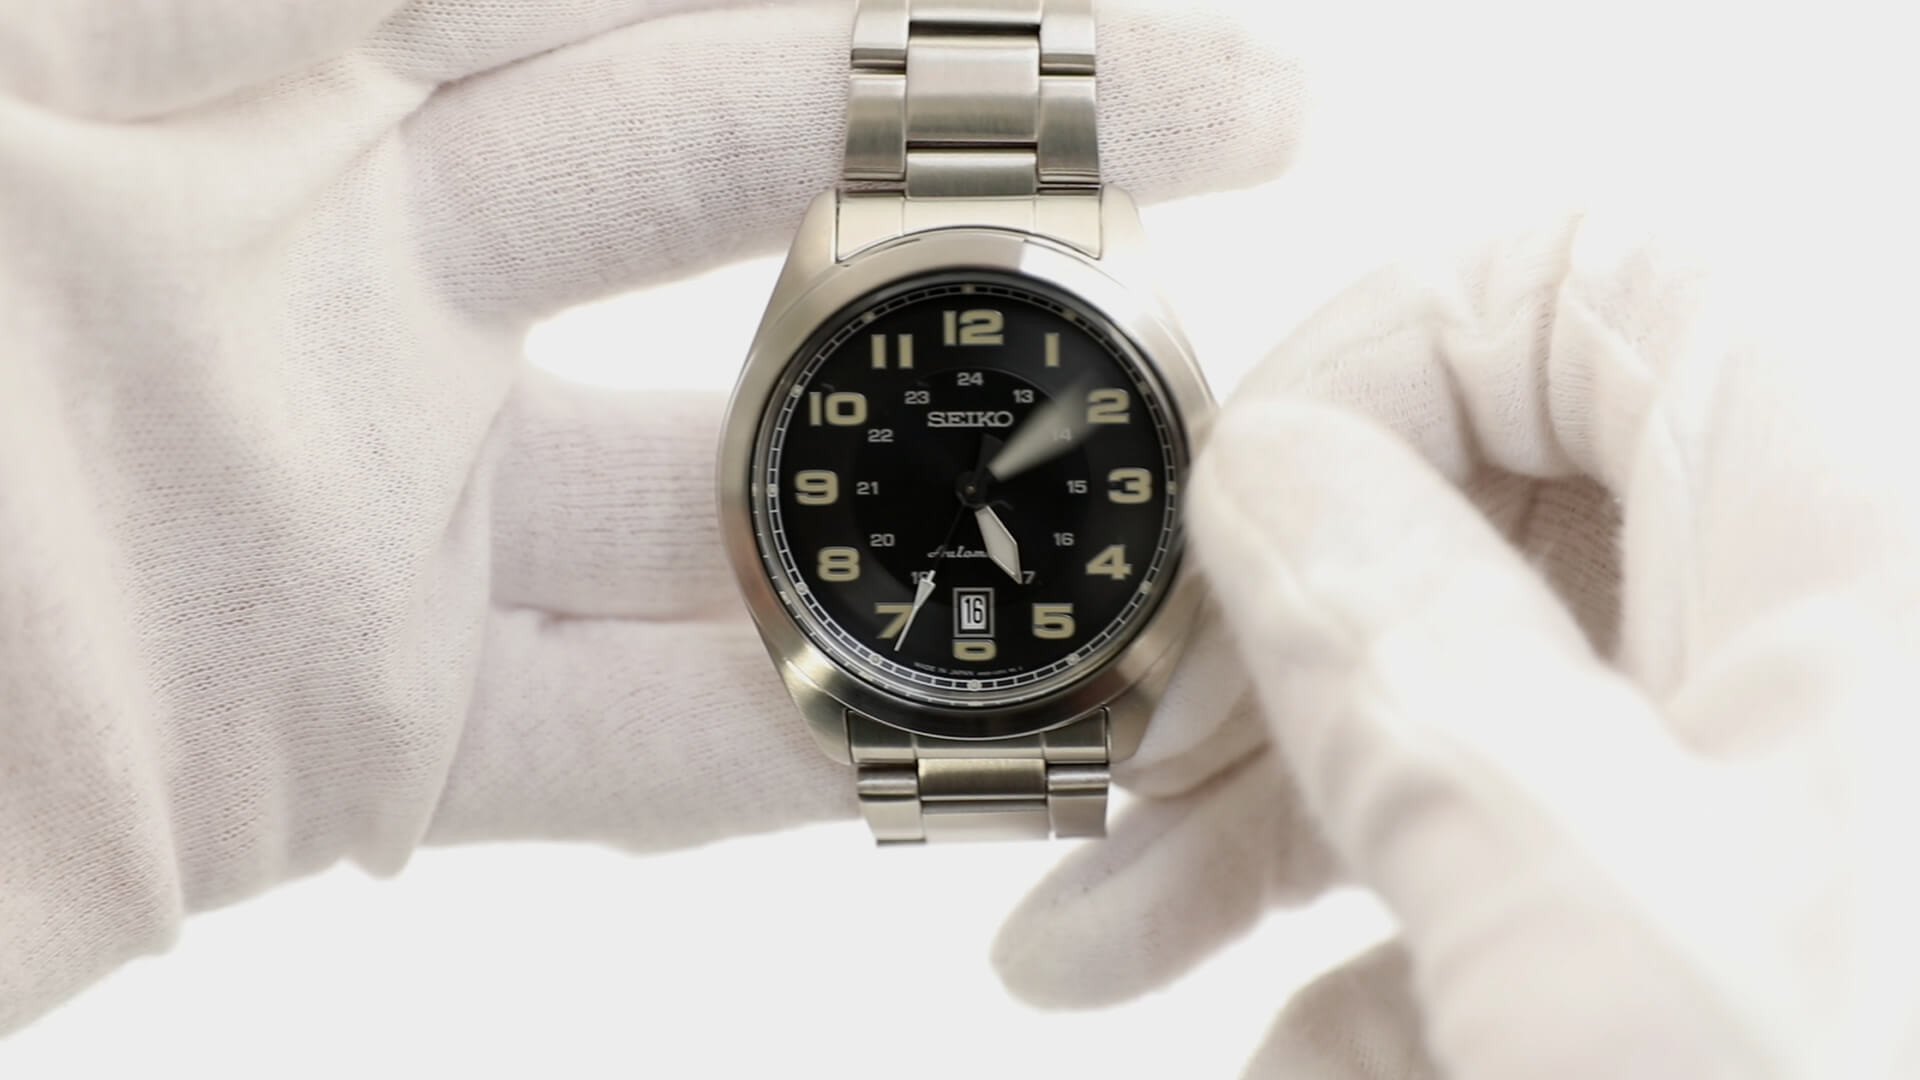
Once you’ve got the time set between 4PM and 9PM, move the crown into the first position and rotate the crown anti-clockwise towards yourself. Move the date window until it's showing the day before your current date. It’s currently the 16th, so, I’m going to set the date to the 15th.
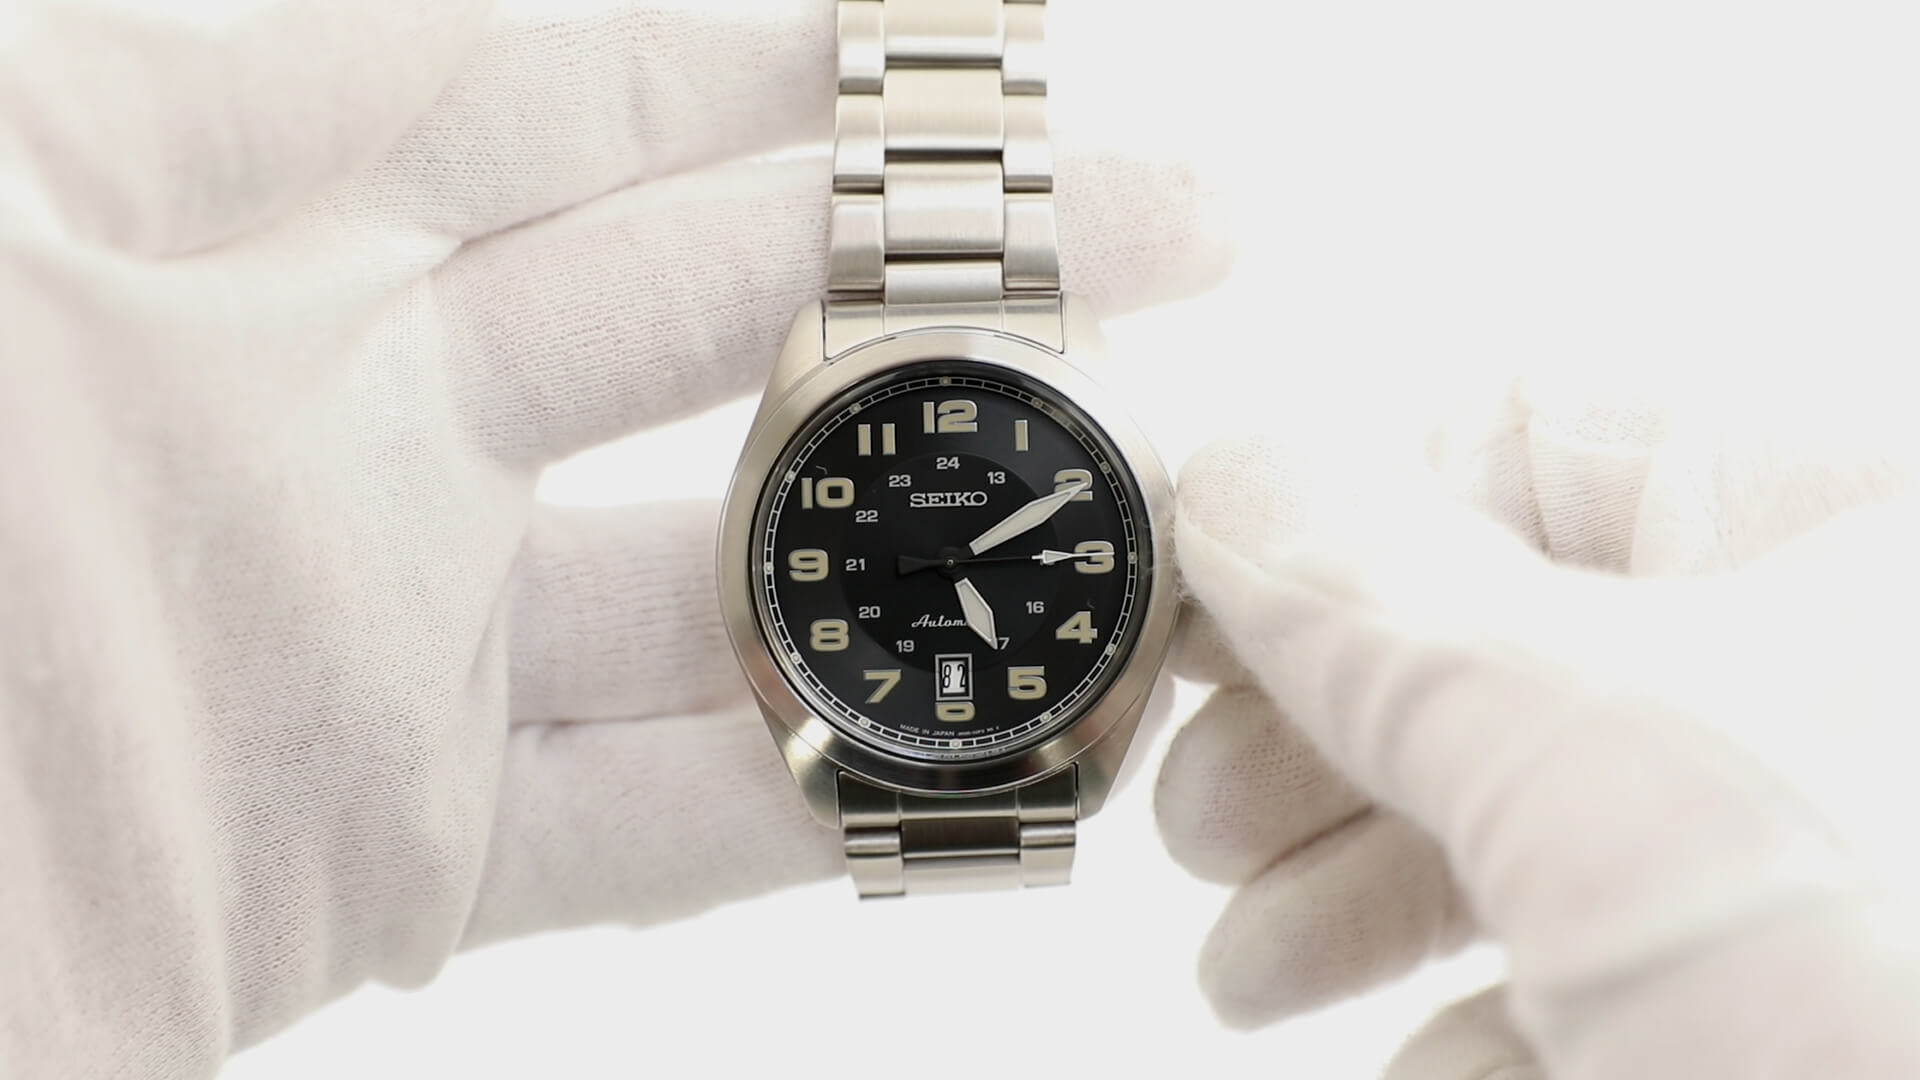
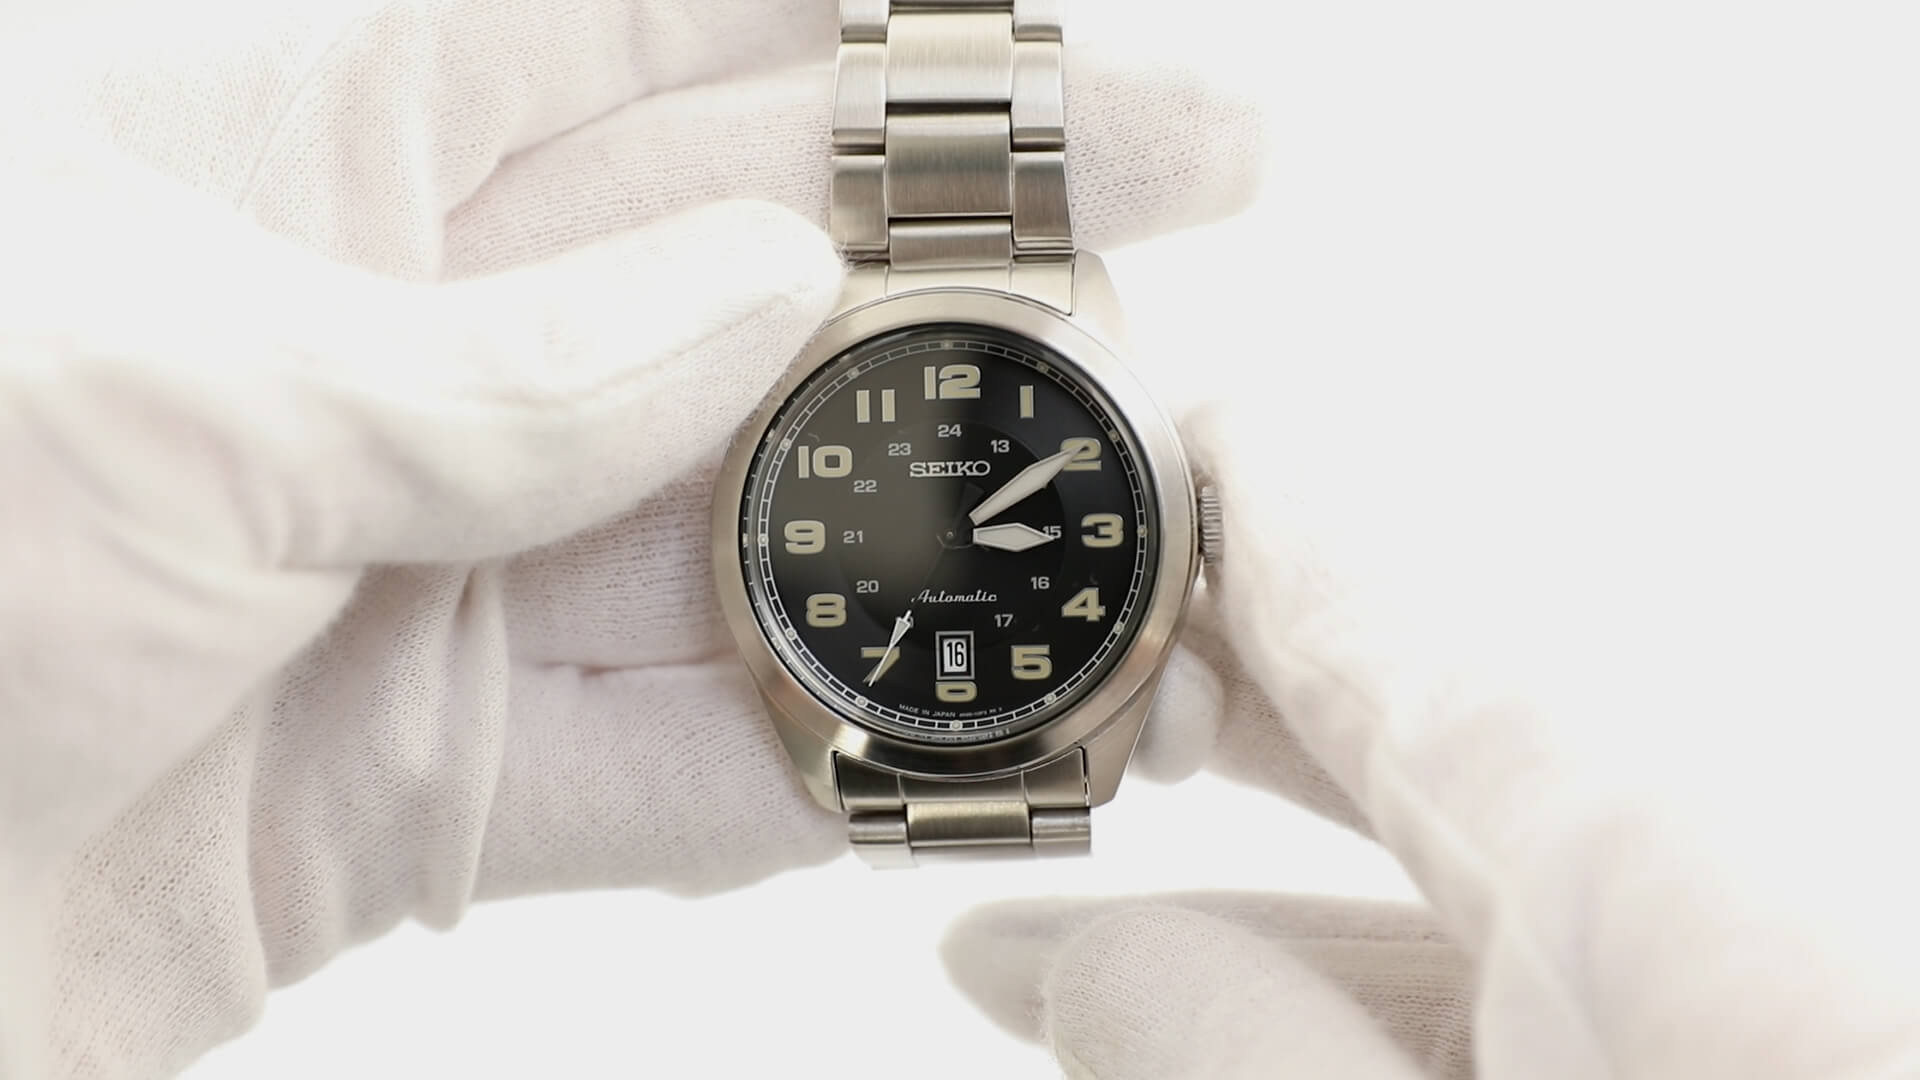
Then pull out the crown into the second position and rotate the crown clockwise, away from you. My watch was set to 5AM so I needed to do two whole rotations until the date ticked over from the 15th to the 16th, I then needed to do one more full rotation to get the time to PM and set it to my current time.
Lastly, to get the time as accurate as possible, wait until the seconds hand reaches 12 o’clock, then pull out the crown to the second position and set it to your current time. Remember there is AM and PM, which will affect the date window if you get this wrong.
We hope this guide has helped you learn how to set the time and date on a Seiko automatic watch. Feel free to read on to see our favourite Seiko Automatics.
Our Favourite Seiko Automatic Watches